1935 Chevy school bus
Moderator: TMAX
Re: 1935 Chevy school bus
Hello All. The trout pond is done---pics to follow! Jack
Re: 1935 Chevy school bus
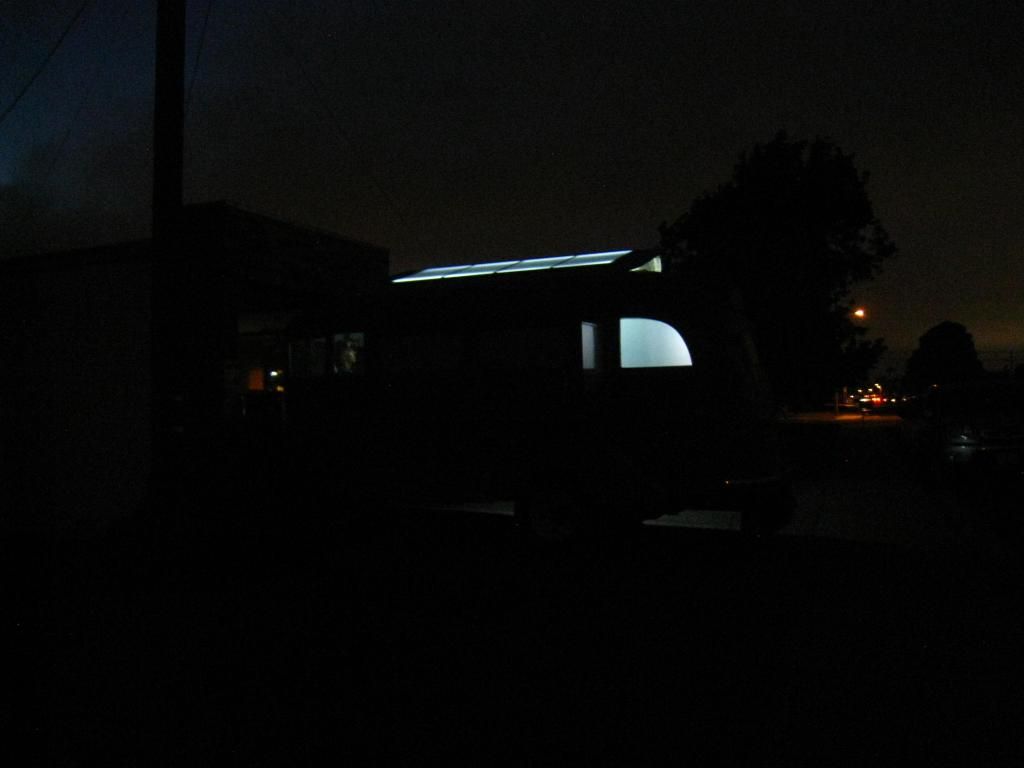
Hello All. Sure is nice to be able to drive my bus in and out of the garage without having to flatten the tires! I haven't had much to post lately let alone show pics of. A while back I cut the passenger seat down to about 3/5 th size and then tried it as the drivers seat--lots easier to get into and out of and just as comfortable as always so I went ahead and cut down the drivers seat as well. Now both seats look and feel the same. I started the finish work on the front end (read Bondo) in preparation for paint then decided I couldn't stand looking at the rough inner panels of the front end. I removed the hood, front fenders, radiator cowl and the fairings and will attempt to make them look like I care before I re-install them. With the front sheet metal all in a heap on the floor I saw a chance to climb up and stand on the engine which gave me the needed reach to make the final attachment of the tent material to the pop up roof. That turned out to be easier than trying to build a mickey mouse scaffold to do the work from--safer too. Since the pop top was up and the slide out extended and the tent completed it seemed like there would be no better time to install the 12 v LED lighting. I strung 35' or so of bright white strips in the roof channels that face up towards the pop top. The shinny white finish of the pop top acts to reflect and diffuse what would otherwise be a harsh bright light. I used a string of water proof LEDs inside the hood over the range. These reflect off of the stainless steel back splash behind the stove. I have a couple of more rolls of LEDs some of which will end up hidden from direct view under the cabinets yet to be built over the kitchen counter. I used a bright enough to read by LED "florescent" light over the table--perhaps a little too bright, we'll see. My wife took some pics of the lighting after dark last night taken without the aid of a flash. Back to work now, Jack
Kitchen counter lit by LEDs.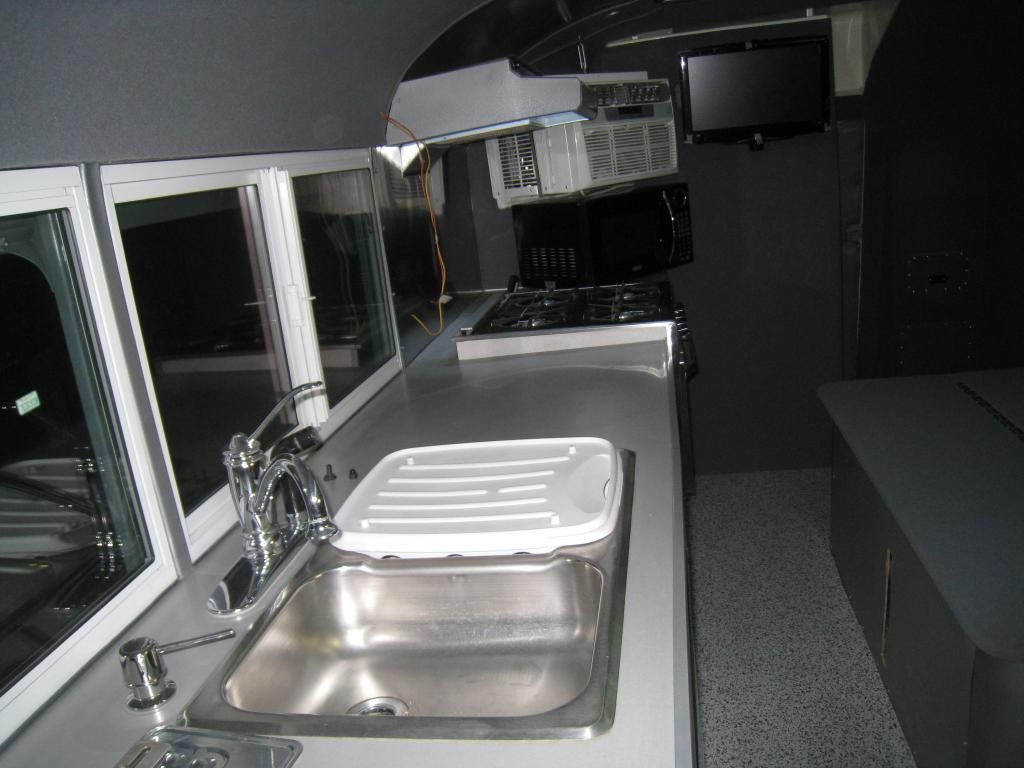
Old guy playing dead.
Night shot right side.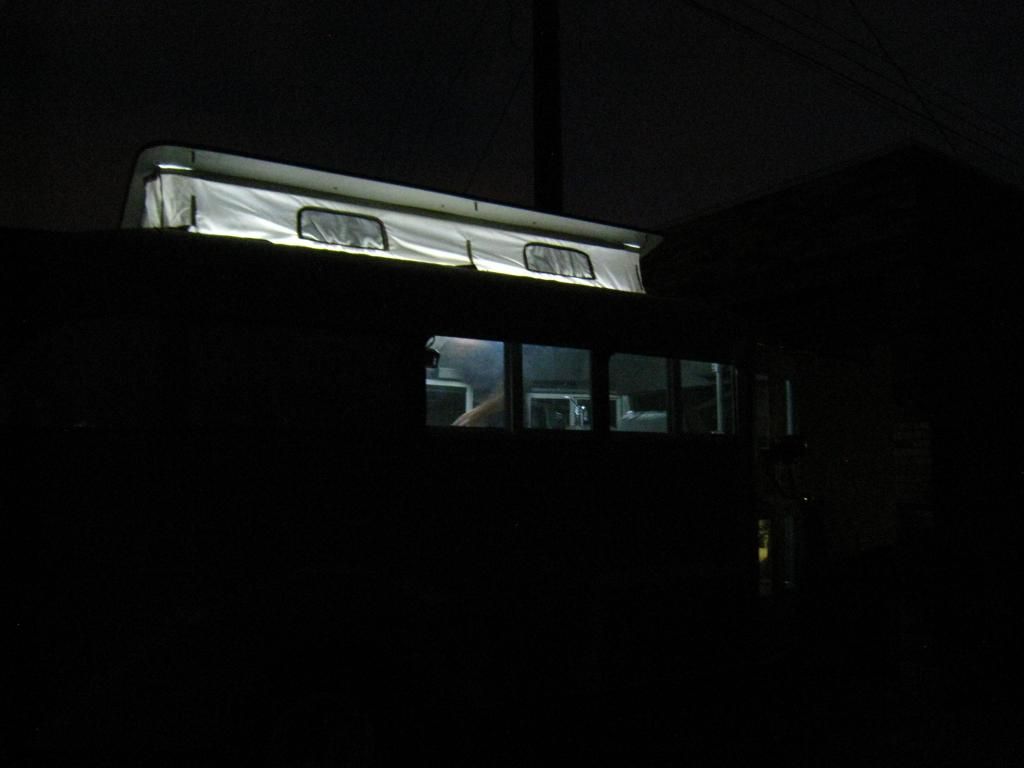
Out door lamp (below awning).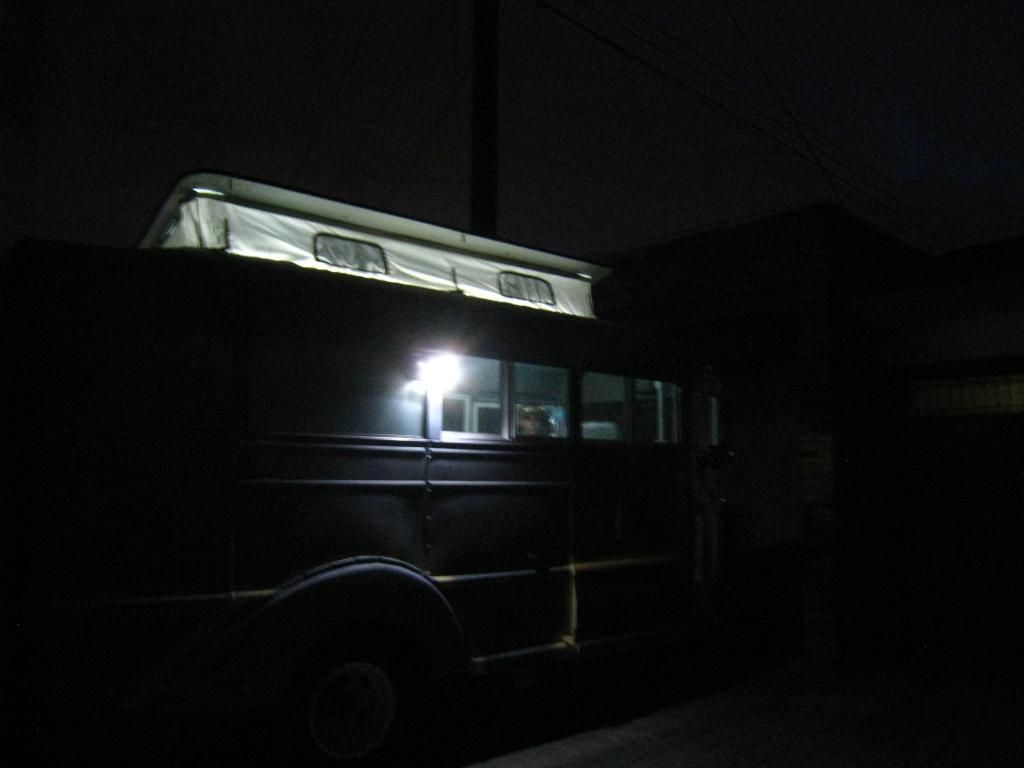
Night shot left side. People are going to report a UFO crash
Kitchen counter lit by LEDs.

Old guy playing dead.

Night shot right side.

Out door lamp (below awning).

Night shot left side. People are going to report a UFO crash

-
stuartcnz

- Site Admin
- Posts: 875
- Joined: Fri Dec 19, 2008 8:05 pm
- Location: Aotearoa, New Zealand
- Contact:
Re: 1935 Chevy school bus
I must have mist the part about having a pop up in the roof. Looks nice. In fact your whole interior is starting to look really nice now.
https://stuartcrawfordmedia.com/
https://nomadichome.org/
https://ethicallogistics.com/ Challenging the way you think.
JID:stuart@nomadicista.nz
https://nomadichome.org/
https://ethicallogistics.com/ Challenging the way you think.
JID:stuart@nomadicista.nz
-
somewhereinusa

- Posts: 323
- Joined: Sat Feb 12, 2011 2:44 pm
- Location: Andrews, Indiana
- Contact:
Re: 1935 Chevy school bus
As Always looking great. 
-
Dennis The Bus Dweller

- Seasoned Nomadicista
- Posts: 1875
- Joined: Mon Nov 15, 2004 9:33 am
- Location: Southold N.Y.
- Contact:
Re: 1935 Chevy school bus
Hello All. As much as I like working on my bus, I sure am glad I don't have to make my living at it  I kept track of the hours it took me to prep a "body work completed" front fender to ready it for primer--26 hours
  I knew I'd have to skin coat the fender with body filler to hide the hundreds of little dings still left but I didn't factor in how many times I'd have to coat, sand, tap down dents that stuck up, coat, sand etc. Hopefully I will have both front fenders in prime by this Friday evening. The butterfly hood. radiator cover and the shrouds that cover the turbo are already in prime--I almost see a paint job in the future
  Jack
Jack
This is how the fenders looked when I started.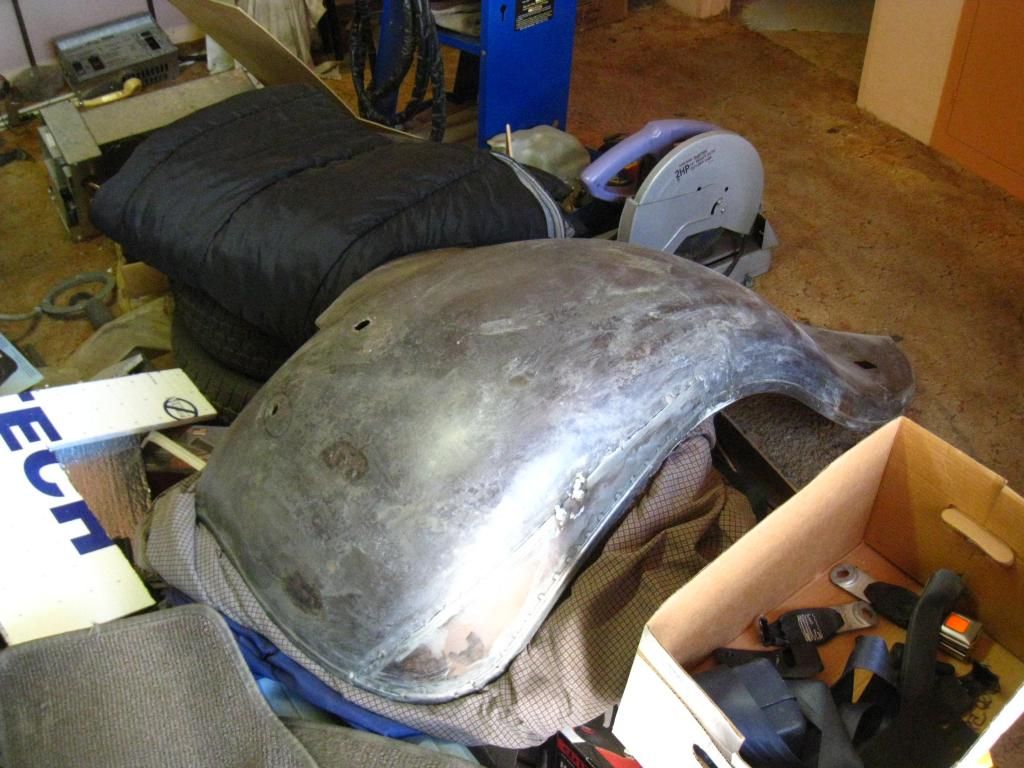
Here is the RF fender ready for prime--26 hours later.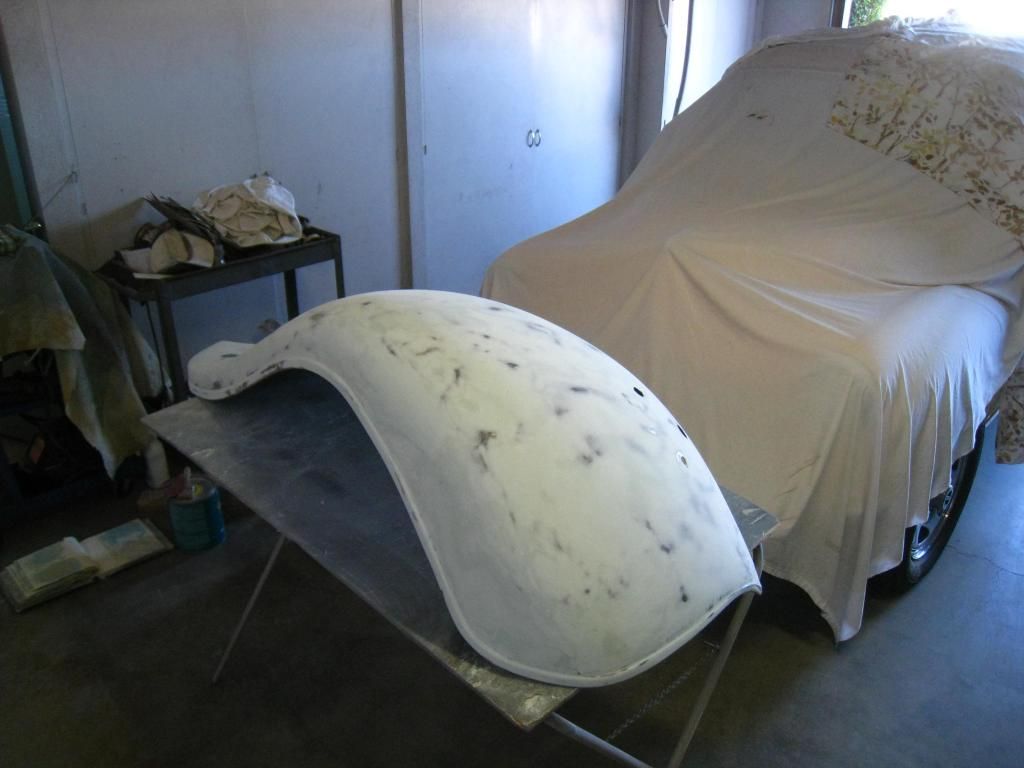
EDIT: I just re opened this to see how it looked and discovered that 10,001 views have been made of my overall post! WOW! And THANKS! I certainly enjoy reading others posts as well as commenting on them and I hope my comments offer others as much incentive to continue as do yours for me. Jack
This is how the fenders looked when I started.

Here is the RF fender ready for prime--26 hours later.

EDIT: I just re opened this to see how it looked and discovered that 10,001 views have been made of my overall post! WOW! And THANKS! I certainly enjoy reading others posts as well as commenting on them and I hope my comments offer others as much incentive to continue as do yours for me. Jack
Re: 1935 Chevy school bus
OMG!!! --- what are all of us gonna do if you actually finish this project!? My nights are already lonely enough. I can't imagine going on in life without having your work to ogle. Have you no regard for your fellow man?
Meanwhile...happy sanding Jack. So...what color(s) are we talking about here?
Meanwhile...happy sanding Jack. So...what color(s) are we talking about here?
Re: 1935 Chevy school bus
The interior is lookin' sweet!!
Re: 1935 Chevy school bus
Hello All. Gotta love them stiches. I've managed to go a year and a half without any . My little pea brain well occupied with something neglected to instruct me to dodge the 1/8" thick corner of the retracted pop out as I jumped up to answer the phone. Ouch! The metal cut through my shirt (and my back) for about 4" oh my. Well at least I'd finished getting that last front fender into prime. As Tango would say, Onward! Jack
Re: 1935 Chevy school bus
Ouch Jack! --- Sorry to hear you ruined an otherwise perfectly good work shirt.
Re: 1935 Chevy school bus
Never mind the stitches, did you damage the popup? You'll heal, it won't. 
Can't wait to see the paint job.
Can't wait to see the paint job.
-
Lostranger

- Posts: 335
- Joined: Fri May 14, 2010 2:49 am
- Location: North Carolina
- Contact:
Re: 1935 Chevy school bus
I'm with Roach on this one. Parts cost money. Skin, you can grow.
Heal quickly, Jack. We need you.
And - joy, joy - I'm in Elkhart! Got here too late today to do much shopping. Staying over so I won't be rushed in the morning. Mainly here for windows and fresh tanks. Already spotted a sofa that should work over our fuel tank. Several other goodies need attention. Picking up waste tank on return trip. I'm excited!
When I get back to NC, it's RESKIN TIME. Maybe a few photos of that will speed your healing, Jack
Jim
Re: 1935 Chevy school bus
Hello All. Its been a while since I posted so here goes. Not much to report other than I did get the paint job finished and am happy with the results. It took me two days of spraying but I was being extra careful--no runs and no dry spots . I'll post pics on the 14 th as this is the coming out party date (really a popular regional car show I plan to attend). I've been doing the finish up kind of stuff like installing exterior lighting and weatherstripping. I spent most of today doing an oil change (on my back, in the moat, lossa fun). The thing takes 13.3 qts of DELO 400 LE oil which along with the filter cost the better part of a hundred bucks. The local Isuzu d(st)ealer wanted another $135 on top of that to do the job  . I probably shouldn't have said it but it just rolled off my tongue " I'm not trying to buy your wife, I just--well I probably won't be welcome there for quite a while, oh well
My plan for tomorrow is to put a couple of hundred miles on my creation entirely on the freeway. I'll just keep making a loop nearby so that should things go South, the tow bill won't be more than the value of the bus. I probably won't be able to sleep tonight due to all the excitement. It'll go something like this: I've done the brakes, the lights all work, the oil is fresh, I've got new tires, the coolant is topped off, the wipers work, I've got the little tool box, the tags are on, lets see, what else should I check----I've done the brakes, the lights all work. You know the drill
I just remembered, I've got to fill the tank--hope it doesn't spill all over my new paint etc. etc. Win loose or draw, I'll let you know how it goes tomorrow. Jack
Gotta have at least one pic. My buddy Tango got an early PM on this as I wasn't going to post any pics before the 14 th--but here goes 
My plan for tomorrow is to put a couple of hundred miles on my creation entirely on the freeway. I'll just keep making a loop nearby so that should things go South, the tow bill won't be more than the value of the bus. I probably won't be able to sleep tonight due to all the excitement. It'll go something like this: I've done the brakes, the lights all work, the oil is fresh, I've got new tires, the coolant is topped off, the wipers work, I've got the little tool box, the tags are on, lets see, what else should I check----I've done the brakes, the lights all work. You know the drill
I just remembered, I've got to fill the tank--hope it doesn't spill all over my new paint etc. etc. Win loose or draw, I'll let you know how it goes tomorrow. Jack
Gotta have at least one pic. My buddy Tango got an early PM on this as I wasn't going to post any pics before the 14 th--but here goes

Re: 1935 Chevy school bus
Ahhhh....the "Maiden Voyage!" --- gotta be a bit like the first time I soloed in Cessna 172. Knees were shakin' the whole time as I ran through all the things I needed to keep an eye on and all the things that could go wrong. But I survived it and loved it. As conscientious as you have been on this one Jack, I'm sure your preflight checklist will be thorough and all will go according to the flight plan.
Have a great and victorious ride and have fun! Can't wait to see her in all her (painted) glory!
Have a great and victorious ride and have fun! Can't wait to see her in all her (painted) glory!
-
Lostranger
- Posts: 335
- Joined: Fri May 14, 2010 2:49 am
- Location: North Carolina
- Contact:
Re: 1935 Chevy school bus
Jack, you old tease....
Who is online
Users browsing this forum: No registered users and 30 guests