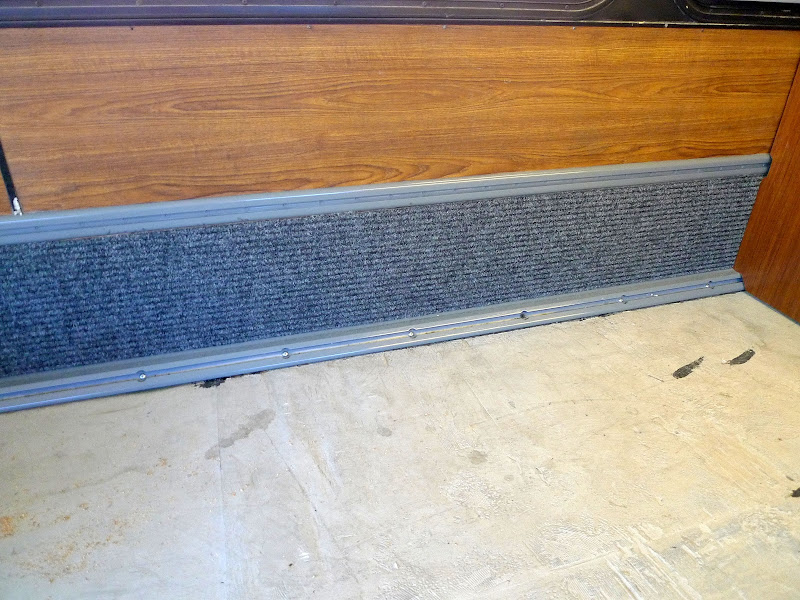
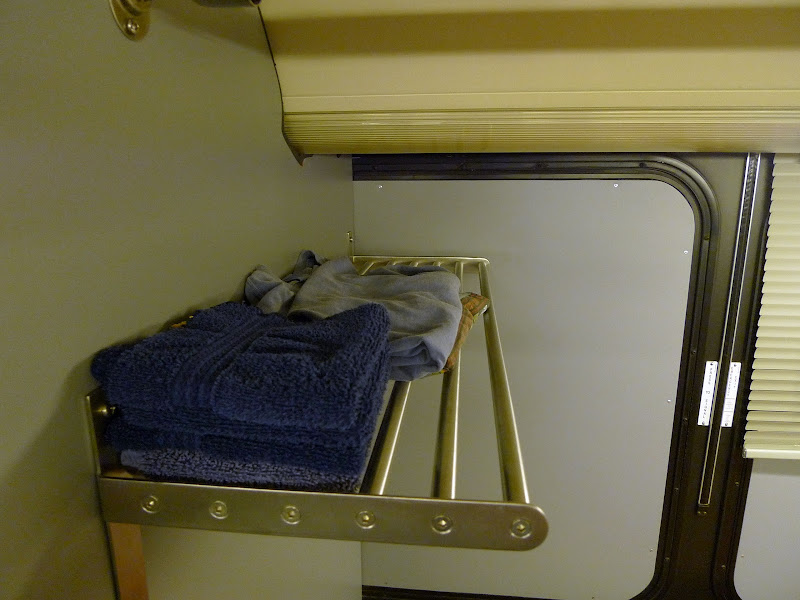
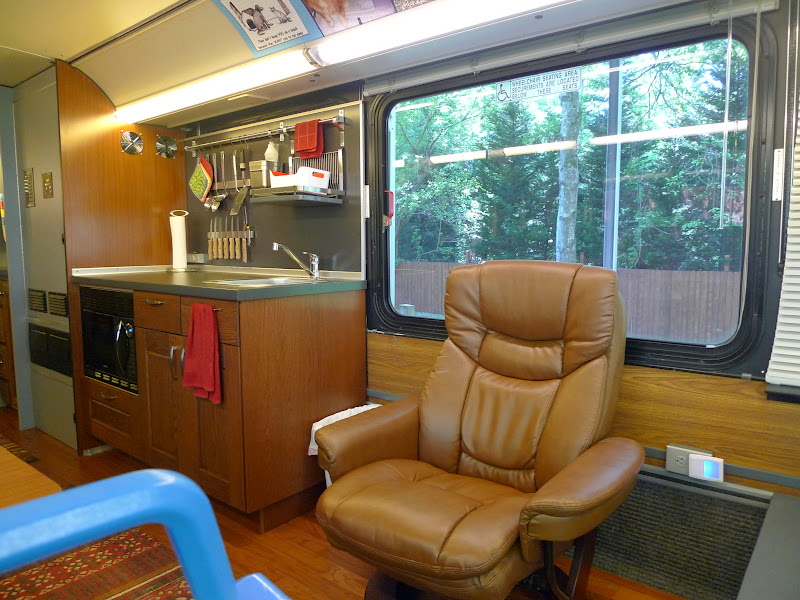
Working with Laminates
As you've seen in my prior photos I frequently use laminate to cover my panels. For my bathroom door I laminated a common "slab door" from Home Depot. I'll show you the steps (and the tools) I used to do that job.
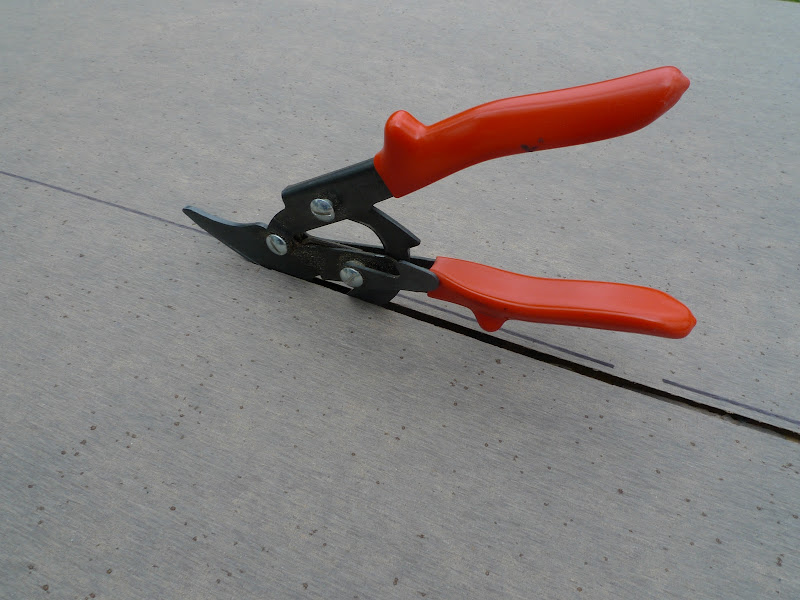
First off you need something to cut the laminate to a workable size for the door. I generally bought 4 X 8 foot sheets. An inexpensive laminate cutter is one way to do it. You can also use a table saw (more trouble unless you have a big table around the saw for the whole sheet to lay on) or a power sheet metal cutter, which resembles a drill with sissors on the end. I've always used this hand cutter because I don't do much at one time and it works just fine. You can find these at the big box stores as well. If you try to use ordinary sissors, you run the risk of splitting the laminate. The hand tool made for this is fairly inexpensive and does a fine job.
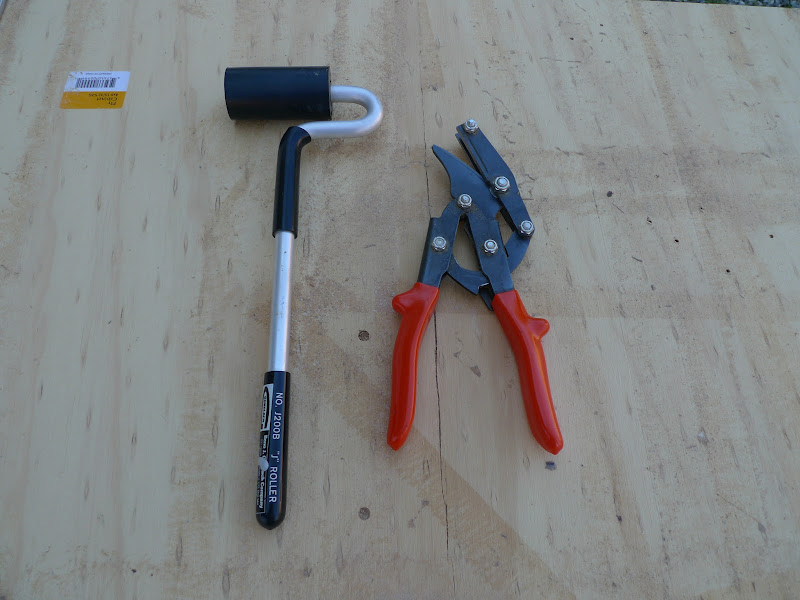
The other tool in the picture is a roller that is used to press the laminate against the wood. More often than not, I use a hand towel under the palm of my hand to do the same thing. It slides over the laminte easily and is quick.
I don't have a fancy workshop. Almost my entire bus build was made outside. I start with a couple of saw horses with a sheet of plywood laid on top. This makes a fine table to work on. I then lay the laminate on the table upside down so I can mark my cut without later having to clean the marker off the finished side. I then lay whatever I'm applying the laminate to (in this case a slab door) on top of the laminte. I usually allow a couple inches overage on each side/end of the door/panel and mark it with a permanent marker. Take the door off and set it aside. You now have the laminate on the table and it is marked where you want to cut it. This is much easier than trying to handle a full size sheet of laminate. I use the hand laminate cutter to make the cut along the line I marked and lay the unused part of the laminate aside for later use.

At this point, we have the laminate cut and our slab door is waiting to get the laminate applied. Using a good adhesive, you'll apply it to both the door and the back side of your laminate. The adhesive you'll need is commonly called contact cement and is available in both quart cans and spray cans. Since I mainly do small stuff I usually use the spray cans. It costs more, but the time it saves with cleanup is worth it to me. The convenience factor is really great with the spray cans.
Regardless of which one you use, be aware that there are different grades available. Since this is a vehicle that can get very hot inside (when parked and not being used), always look for a high-heat/high strength adhesive. All of the glues stick for a while, but the really good ones will be there for many years without turning loose. Here's the one I've been using for the last 8 years or so.

I get this at my local shop that caters to the cabinet making crowd. I have not been able to find a suitable spray can adhesive at either Home Depot or Lowes. They carry a great brand (3M), but not the high strength version. Your store may be different. If I remember correctly, my local HD carries 3M "77". Although it's from a great company, I don't think this particular one it works well for RV use. Over time, I've used 3 or 4 different brands. One of the things I've noticed is that the really strong ones always have a shaker ball in them, much like spray can paint. I'm guessing it's because the adhesive is thicker and needs the ball to mix things up before spraying.
The glue must be applied to both surfaces (the door and the laminate). After you get the adhesive applied to both the door and the laminate, you will wait until the surface is tacky before joining the two. Because of the time it takes to apply the glue to both the door and the laminate with a spray can, I rarely have to wait at all. If you were using a roller to apply the glue, you would finish much faster and might have to wait for it to tack up. Be aware that contact cement/adhesive/glue is not like construction adhesive, silicone, or any of the tube adhesives. You do not get a "work time" where you can place the laminate on top of the door and move the laminate to the spot you want it to be. When you use contact adhesive and both pieces touch, it's sticks immediately. You can rarely move it. Don't ask me how many times I've made a mistake and ruined something. I'd rather not be embarrassed. So it's very important that you place it in the right position before you let the two surfaces touch.
To aid in this process, get some round dowel sticks to lay on top of your door. You can lay them right on top of the door even though it has the glue applied. They will not stick to the door because they do not have any glue on them. What they will do is let you position your laminate sheet to just the right position before removing the sticks. When you get the laminate lined up correctly, you can start pulling the sticks out. Start at one end, pulling each stick out in order and press down on the laminate so that it meets the door. If you don't do it in order, you may end up with a hump in the middle because the ends adhered first and there is no way for the middle to lay down.


After the laminate is stuck to the door, use a trim router (with a trim bit) to trim off the excess material around the door. Here is my door after I've finished it.

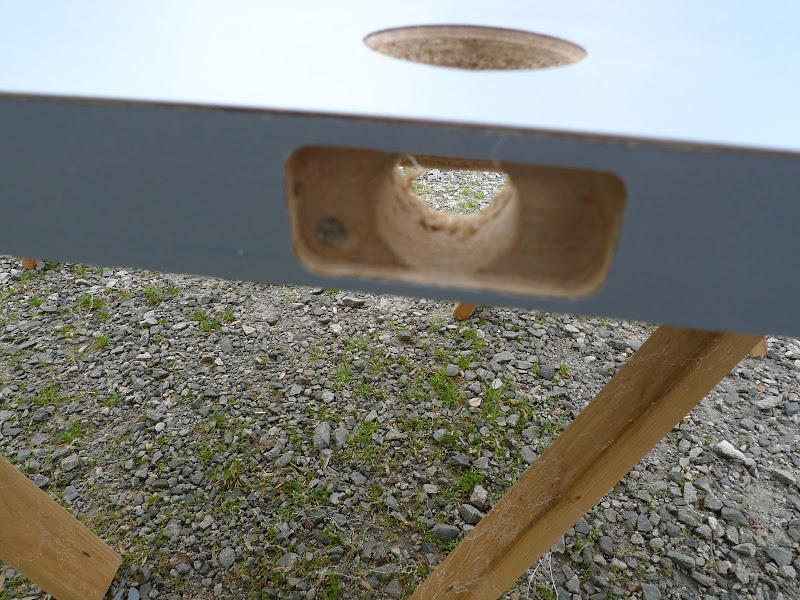
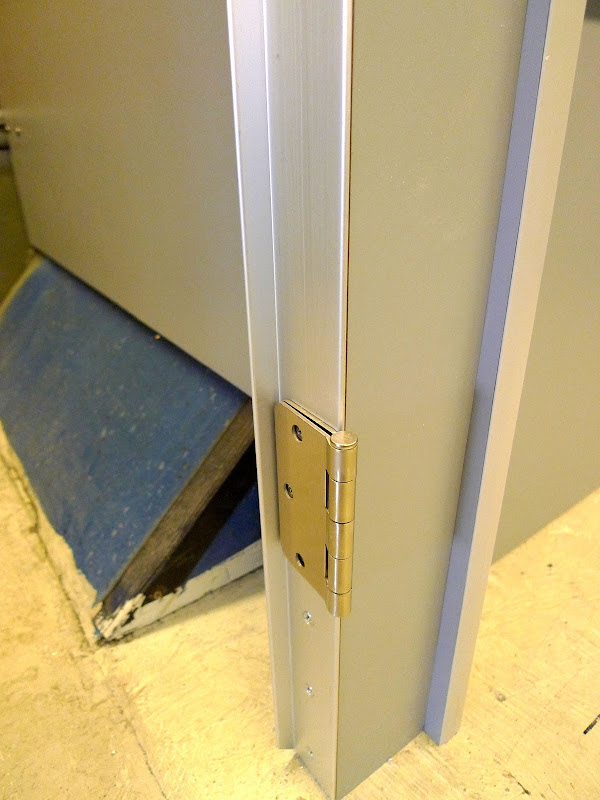
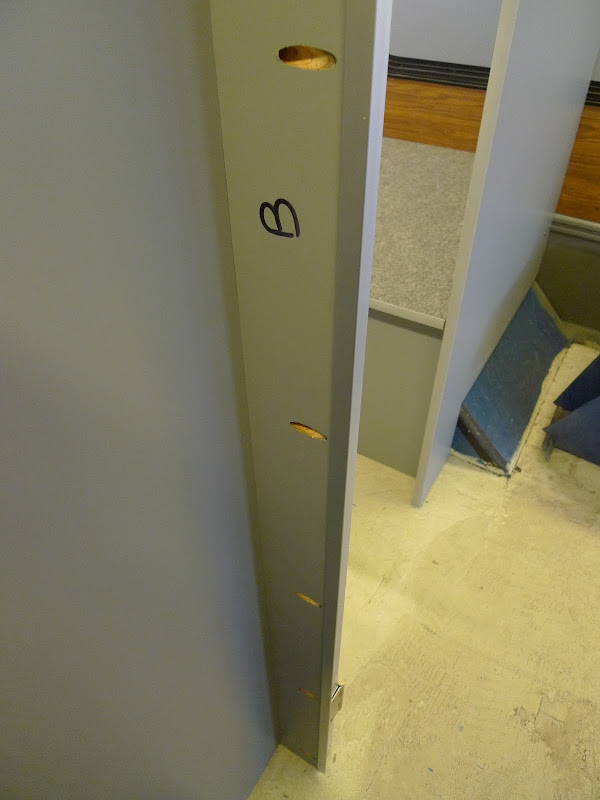
Trimming out this mortis was a bit tricky. The place where the door knob fits was done with the trim router, but the latch part was done by freehand with a Dremel tool.
A word of caution --- after you get through applying your laminate and trimming it with the router, be aware that "trimmed out" laminate leaves a very sharp edge. It can cut you badly. I take a bastard file and rake it down the length of the laminate (at a 45 degree angle to the edge) to remove the sharp corner. You don't have to file it, just one rake down it will take the edge off and solve the problem. Also, if you happen to get any glue on the finished side of the laminate, it removes easily with lacquer thinner.
I hope this was helpful to anybody that has considered doing laminate, but didn't know where to start. This is how I do mine. Some of you may have a far better way of doing it, so don't accept this as gospel by any means. It's just one simple way of doing it without a lot of expensive tools.
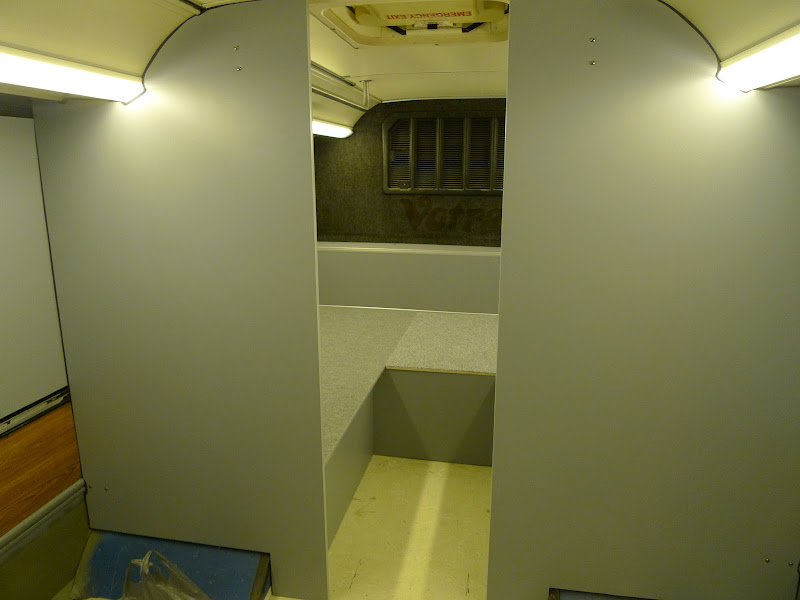
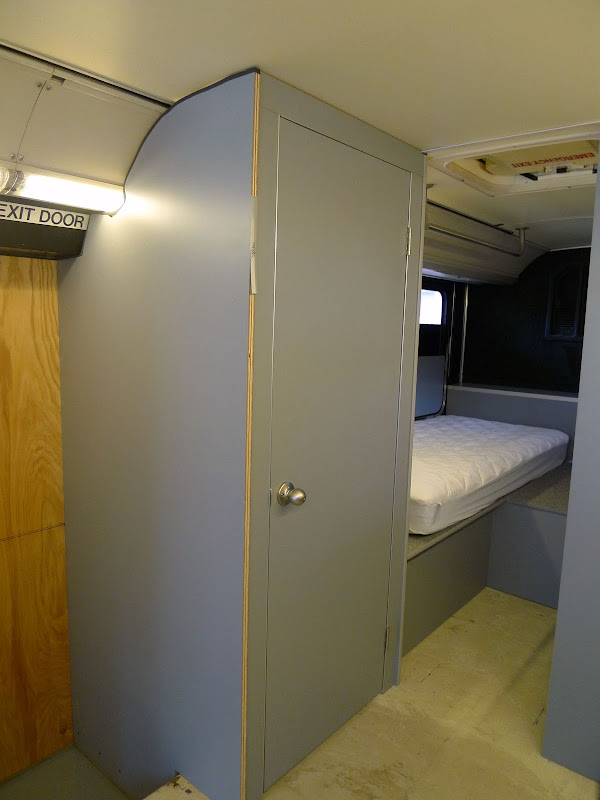
The Door is On the Pooper
Okay, here's the finished product, although the edges don't yet have the T-moulding trim on them.

I hope this wasn't too long. Once you get the hang of it, it goes easily. The door was a little tricky, but walls were much easier.